通过本文,你将了解:
- GitHub Actions的基本使用
- 如何使用GitHub Actions自动推送URL至Google Search Console
- 如何使用GitHub Actions自动推送URL至百度站长平台
你将得到以下方案:
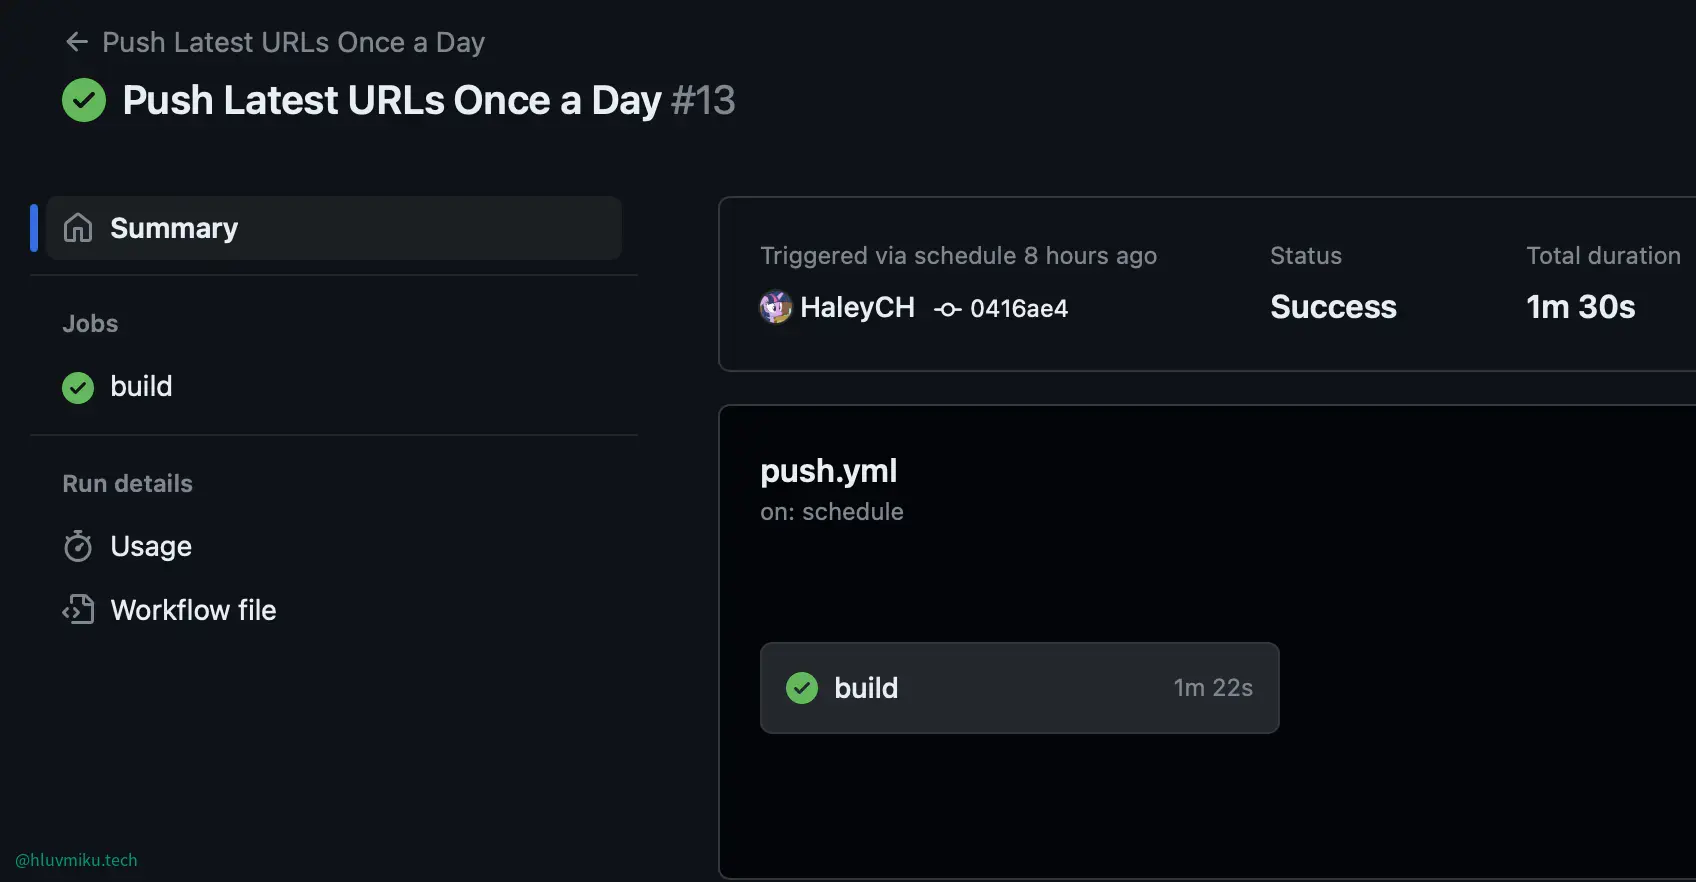
- 使用GitHub Actions每天定时自动推送URL至Google Search Console与百度站长平台
本方案基于使用GitHub Actions自动部署你的博客中将站点部署到GitHub Pages的方案,并在它的基础上配置GitHub Actions实现自动推送。
如果你没有使用过上述方案,也可以参考本文,只需自行获得站点的sitemap.xml即可。
1 前言
新的博客总是会遇到一个问题:如何让搜索引擎知道我的博客的存在?
这就需要我们将站点的sitemap.xml提交给搜索引擎。
但是有的时候,仅仅提交sitemap.xml是不够的。
最有效的方式是将你的站点所有希望被索引的URL推送给搜索引擎。
不过,这个过程是比较繁琐的。
本着“懒人”的原则,我研究了一套使用GitHub Actions来实现自动推送URL到Google和百度的方案。
2 GitHub Actions 基本使用
点击查看GitHub Action介绍,熟悉的人可以跳过
2.1 GitHub Actions 简介
GitHub Actions是GitHub提供的一项功能,它可以让你在GitHub上自动化地完成一些操作。
它的配置文件是.yml文件,放在.github/workflows目录下。
它的结构如下:
 1
 2
 3
 4
 5
 6
 7
 8
 9
10
11
12
13
14
15
16
17
18
19
20
21
22
23
| name: <workflow-name> # workflow的名称
on: <workflow-trigger> # workflow的触发条件
permissions: # workflow的权限
contents: read
issues: write
env: # workflow的环境变量
ENV: production
jobs: # workflow的工作
build:
runs-on: ubuntu-latest # 运行环境
steps: # workflow的步骤
- name: Checkout # 步骤名称
uses: actions/checkout@v2 # 步骤使用的action
with: # 步骤的参数
ref: master
fetch-depth: 0
### 或者 ###
- name: Checkout # 步骤名称
run: echo "Hello World" # 步骤的命令
|
具体来说:
name: 定义工作流的名称。on: 定义触发工作流的条件,例如 push、pull request 或定时任务。permissions: 定义工作流的权限,例如读取内容或写入问题。env: 定义工作流的环境变量。jobs: 定义工作流中的任务。runs-on: 定义任务运行的环境。steps: 定义任务的步骤。name: 定义步骤的名称。uses: 定义步骤使用的 action。with: 定义步骤的参数。run: 定义步骤的命令。
当你的仓库中有.yml文件时,GitHub会自动检测并根据触发条件执行它。
2.2 GitHub Actions 示例
点击查看示例
 1
 2
 3
 4
 5
 6
 7
 8
 9
10
11
12
13
14
15
16
17
18
19
20
21
22
23
24
25
26
27
28
29
30
31
32
33
34
35
36
37
38
39
40
41
42
43
44
45
46
47
48
49
50
51
52
53
54
55
56
57
58
59
60
61
62
63
64
65
66
67
68
69
70
71
72
73
74
75
| # Sample workflow for building and deploying a Hugo site to GitHub Pages
name: Deploy Hugo site to Pages
on:
# Runs on pushes targeting the default branch
push:
branches: ["main"]
# Sets permissions of the GITHUB_TOKEN to allow deployment to GitHub Pages
permissions:
contents: read
pages: write
id-token: write
# Environment variables available to all jobs and steps in this workflow
env:
HUGO_ENV: production
HUGO_VERSION: "0.115.4"
GO_VERSION: "1.20.5"
NODE_VERSION: "18.15.0"
TINA_CLIENT_ID: ${{ vars.TINA_CLIENT_ID }}
TINA_TOKEN: ${{ vars.TINA_TOKEN }}
jobs:
# Build job
build:
runs-on: ubuntu-latest
steps:
- uses: actions/checkout@v3
- name: Set up Node.js
uses: actions/setup-node@v3
with:
node-version: ${{ env.NODE_VERSION }}
- name: Install Hugo
run: |
curl -LO "https://github.com/gohugoio/hugo/releases/download/v${{ env.HUGO_VERSION }}/hugo_extended_${{ env.HUGO_VERSION }}_Linux-64bit.tar.gz"
tar -xvf hugo_extended_${{ env.HUGO_VERSION }}_Linux-64bit.tar.gz
sudo mv hugo /usr/local/bin/
rm hugo_extended_${{ env.HUGO_VERSION }}_Linux-64bit.tar.gz
hugo version
- name: Install Go
run: |
curl -LO "https://dl.google.com/go/go${{ env.GO_VERSION }}.linux-amd64.tar.gz"
sudo tar -C /usr/local -xzf go${{ env.GO_VERSION }}.linux-amd64.tar.gz
echo "export PATH=$PATH:/usr/local/go/bin" >> $GITHUB_ENV
rm go${{ env.GO_VERSION }}.linux-amd64.tar.gz
go version
- name: Setup Project
run: npm run project-setup
- name: Install npm dependencies
run: npm install
- name: Build Website
run: npm run build
- name: Upload artifact
uses: actions/upload-pages-artifact@v1
with:
path: ./public
- name: Echo CNAME
run: echo ${{ secrets.CNAME }} > ./public/CNAME
- name: Deploy Web
uses: peaceiris/actions-gh-pages@v3
with:
PERSONAL_TOKEN: ${{ secrets.PERSONAL_TOKEN }}
EXTERNAL_REPOSITORY: HaleyCH/HaleyCH.github.io
PUBLISH_BRANCH: master
PUBLISH_DIR: ./public
commit_message: ${{ github.event.head_commit.message }}
|
这个例子是我在使用GitHub Actions自动部署你的博客中使用的配置文件。它依次实现了:
- 安装
Node.js - 安装
Hugo - 安装
Go - 安装
npm 依赖 - 构建站点
- 上传构建好的站点到
GitHub Pages 仓库 - 部署
GitHub Pages 仓库 - 将
CNAME 文件写入 public 目录 - 推送
GitHub Pages 仓库
并且,每当这个仓库的代码被改变时,它都会自动执行。
可以看到GitHub Action是一个非常强大的工具,它可以帮助我们自动化地完成一些操作。
通过它,我们可以实现自动推送URL到Google和百度的功能。
GitHub Actions有每月配额的限制,如果你的仓库中有多个workflow,那么你可能会遇到配额不足的情况。
不过对于个人博客来说,这个配额是足够的。
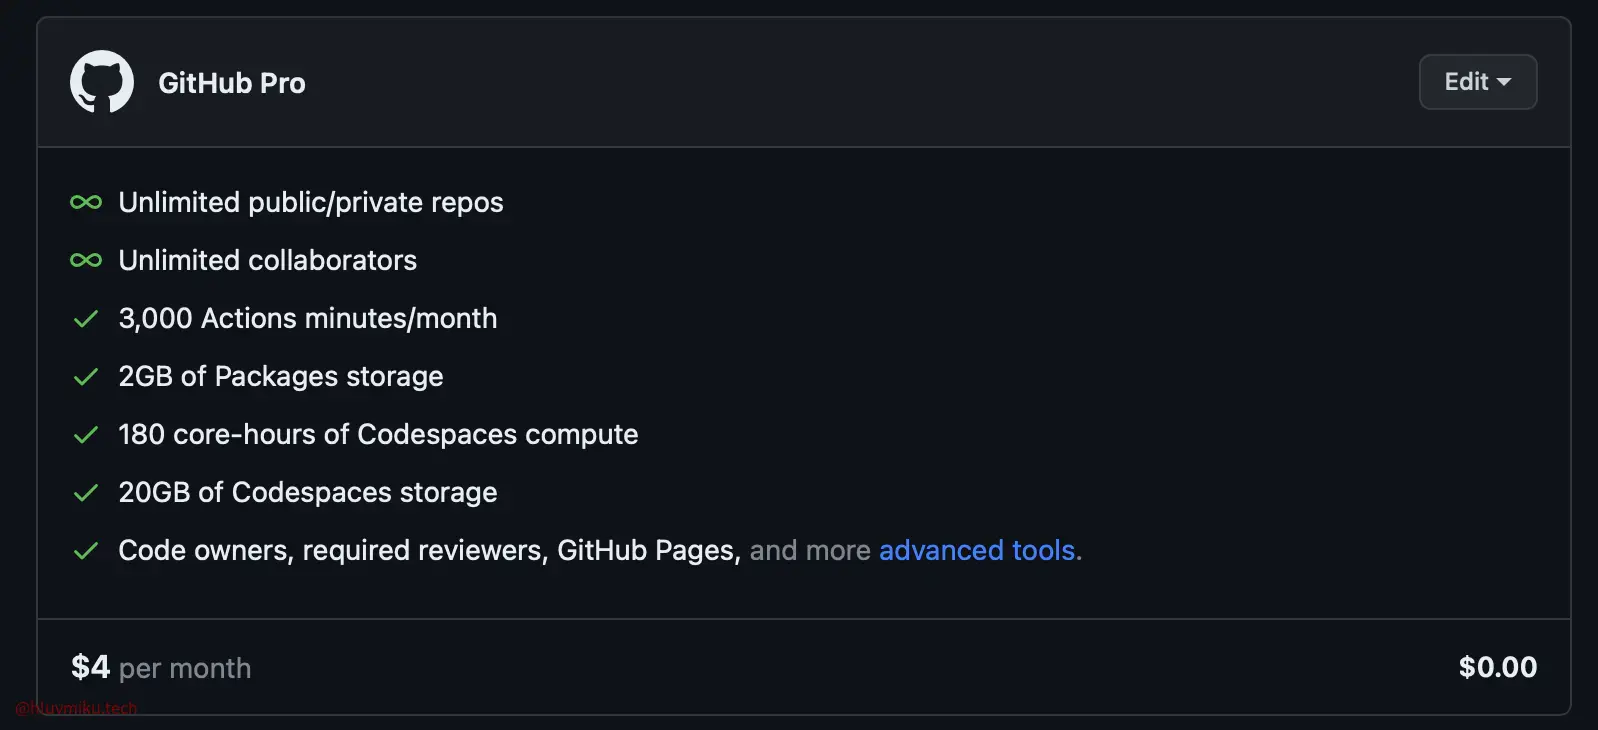
开通GitHub Pro或者通过GitHub Education认证可以获得更多的配额。

3 自动推送URL至Google Search Console
通过使用python的oauth2client库,我们可以实现自动推送URL至Google Search Console的功能。
请遵循以下步骤:
- 在你的仓库中,创建一个名为
push_urls_to_google.py的文件,内容如下:
点击查看代码
 1
 2
 3
 4
 5
 6
 7
 8
 9
10
11
12
13
14
15
16
17
18
19
20
21
22
23
24
25
26
27
28
29
30
31
32
33
34
35
36
37
38
39
40
41
42
| from oauth2client.service_account import ServiceAccountCredentials
import httplib2
import json
import sys
# https://developers.google.com/search/apis/indexing-api/v3/prereqs#header_2
JSON_KEY_FILE = "api-key.json"
SCOPES = ["https://www.googleapis.com/auth/indexing"]
def main(urls_file):
credentials = ServiceAccountCredentials.from_json_keyfile_name(JSON_KEY_FILE, scopes=SCOPES)
http = credentials.authorize(httplib2.Http())
ENDPOINT = "https://indexing.googleapis.com/v3/urlNotifications:publish"
with open(urls_file, "r") as f:
urls = f.readlines()
for u in urls:
content = {}
content['url'] = u.strip()
content['type'] = "URL_UPDATED"
json_ctn = json.dumps(content)
response, content = http.request(ENDPOINT, method="POST", body=json_ctn)
result = json.loads(content.decode())
if "error" in result:
print("Error({} - {}): {}".format(result["error"]["code"], result["error"]["status"], result["error"]["message"]))
else:
print("urlNotificationMetadata.url: {}".format(result["urlNotificationMetadata"]["url"]))
print("urlNotificationMetadata.latestUpdate.url: {}".format(result["urlNotificationMetadata"]["latestUpdate"]["url"]))
print("urlNotificationMetadata.latestUpdate.type: {}".format(result["urlNotificationMetadata"]["latestUpdate"]["type"]))
print("urlNotificationMetadata.latestUpdate.notifyTime: {}".format(result["urlNotificationMetadata"]["latestUpdate"]["notifyTime"]))
if __name__ == "__main__":
if len(sys.argv) < 2:
print("Usage: python push_urls_to_google.py <urls_file>")
else:
urls_file = sys.argv[1]
main(urls_file)
|
请务必将仓库设为private,否则你的Google SearchAPI凭据将会被公开。
- 在你的仓库
.github/workflows目录下,创建一个名为push_urls_to_google.yml的文件,设定如下所示的触发条件:
 1
 2
 3
 4
 5
 6
 7
 8
 9
10
11
| name: Push Latest URLs Once a Day
on:
schedule:
- cron: "0 0 * * *"
workflow_dispatch:
# Sets permissions of the GITHUB_TOKEN to allow deployment to GitHub Pages
permissions:
contents: read
pages: write
id-token: write
|
这表示这个Action将在UTC时间的每天0点自动执行。
- 获得
sitemap.xml的URL。
如果你是根据使用GitHub Actions自动部署你的博客中的方案部署的博客,那么你可以在push_urls_to_google.yml中添加以下代码:
点击查看代码
 1
 2
 3
 4
 5
 6
 7
 8
 9
10
11
12
13
14
15
16
17
18
19
20
21
22
23
24
25
26
27
28
29
30
31
32
33
34
35
36
37
38
39
40
41
42
43
44
45
46
47
48
49
50
51
52
| jobs:
# Build job
build:
runs-on: ubuntu-latest
steps:
- uses: actions/checkout@v3
- name: Set up Node.js
uses: actions/setup-node@v3
with:
node-version: ${{ env.NODE_VERSION }}
- name: Install Hugo
run: |
curl -LO "https://github.com/gohugoio/hugo/releases/download/v${{ env.HUGO_VERSION }}/hugo_extended_${{ env.HUGO_VERSION }}_Linux-64bit.tar.gz"
tar -xvf hugo_extended_${{ env.HUGO_VERSION }}_Linux-64bit.tar.gz
sudo mv hugo /usr/local/bin/
rm hugo_extended_${{ env.HUGO_VERSION }}_Linux-64bit.tar.gz
hugo version
- name: Install Go
run: |
curl -LO "https://dl.google.com/go/go${{ env.GO_VERSION }}.linux-amd64.tar.gz"
sudo tar -C /usr/local -xzf go${{ env.GO_VERSION }}.linux-amd64.tar.gz
echo "export PATH=$PATH:/usr/local/go/bin" >> $GITHUB_ENV
rm go${{ env.GO_VERSION }}.linux-amd64.tar.gz
go version
- name: Setup Project
run: npm run project-setup
- name: Install npm dependencies
run: npm install
- name: Build Website
run: npm run build
- name: Upload artifact
uses: actions/upload-pages-artifact@v1
with:
path: ./public
- name: Echo CNAME
run: echo ${{ secrets.CNAME }} > ./public/CNAME
- name: Deploy Web
uses: peaceiris/actions-gh-pages@v3
with:
PERSONAL_TOKEN: ${{ secrets.PERSONAL_TOKEN }}
EXTERNAL_REPOSITORY: HaleyCH/HaleyCH.github.io
PUBLISH_BRANCH: master
PUBLISH_DIR: ./public
commit_message: ${{ github.event.head_commit.message }}
|
对于其他方案,你需要自行获得sitemap.xml并将其读入workflow中。
- 在
push_urls_to_google.yml中添加以下代码:
1
2
3
4
| - name: Extract Latest URLs
run: |
latest_urls=$(grep -o '<loc>[^<]*</loc>' ./public/sitemap.xml | sed 's/<loc>\(.*\)<\/loc>/\1/' | head -n 100)
echo "$latest_urls" > latest_urls.txt
|
他将读取./public/sitemap.xml中的前100条URL,并将它们写入latest_urls.txt中。
- 配置环境并运行脚本:
1
2
3
4
5
6
7
8
9
10
11
12
13
14
15
16
| - name: install python
uses: actions/setup-python@v2
with:
python-version: '3.x'
- name: Install dependencies
run: |
python -m pip install --upgrade pip
pip install oauth2client
pip install httplib2
- name: Push Latest URLs to Google
run: |
pwd
ls -l
python ./push_urls_to_google.py latest_urls.txt
|
这段代码会自动配置python环境与依赖项,并且运行push_urls_to_google.py脚本。
4 自动推送URL至百度站长平台
本节的内容需要你已经拥有一个百度站长平台账号,并且已经验证了你的域名所有权。
由于这一步较为简单,我不会详细讲解。
1
2
3
4
5
| - name: Push Latest URLs to Baidu
run: |
while IFS= read -r url; do
curl -H "Content-Type:text/plain" --data-binary "$url" "http://data.zz.baidu.com/urls?site=<yourDomain>&token=<yourToken>"
done < latest_urls.txt
|
它会自动读取latest_urls.txt中的URL,并将它们推送至百度站长平台。
5 完整的workflow
点击查看完整的workflow
1
2
3
4
5
6
7
8
9
10
11
12
13
14
15
16
17
18
19
20
21
22
23
24
25
26
27
28
29
30
31
32
33
34
35
36
37
38
39
40
41
42
43
44
45
46
47
48
49
50
51
52
53
54
55
56
57
58
59
60
61
62
63
64
65
66
67
68
69
70
71
72
73
74
75
76
77
78
79
80
81
82
83
84
85
86
87
88
89
90
91
92
93
94
95
96
97
98
99
100
101
| name: Push Latest URLs Once a Day
on:
schedule:
- cron: "0 0 * * *"
workflow_dispatch:
# Sets permissions of the GITHUB_TOKEN to allow deployment to GitHub Pages
permissions:
contents: read
pages: write
id-token: write
# Environment variables available to all jobs and steps in this workflow
env:
HUGO_ENV: production
HUGO_VERSION: "0.115.4"
GO_VERSION: "1.20.5"
NODE_VERSION: "18.15.0"
TINA_CLIENT_ID: ${{ vars.TINA_CLIENT_ID }}
TINA_TOKEN: ${{ vars.TINA_TOKEN }}
jobs:
  # Build job
  build:
    runs-on: ubuntu-latest
    steps:
      - uses: actions/checkout@v3
      - name: Set up Node.js
        uses: actions/setup-node@v3
        with:
          node-version: ${{ env.NODE_VERSION }}

      - name: Install Hugo
        run: |
          curl -LO "https://github.com/gohugoio/hugo/releases/download/v${{ env.HUGO_VERSION }}/hugo_extended_${{ env.HUGO_VERSION }}_Linux-64bit.tar.gz"
          tar -xvf hugo_extended_${{ env.HUGO_VERSION }}_Linux-64bit.tar.gz
          sudo mv hugo /usr/local/bin/
          rm hugo_extended_${{ env.HUGO_VERSION }}_Linux-64bit.tar.gz
          hugo version

      - name: Install Go
        run: |
          curl -LO "https://dl.google.com/go/go${{ env.GO_VERSION }}.linux-amd64.tar.gz"
          sudo tar -C /usr/local -xzf go${{ env.GO_VERSION }}.linux-amd64.tar.gz
          echo "export PATH=$PATH:/usr/local/go/bin" >> $GITHUB_ENV
          rm go${{ env.GO_VERSION }}.linux-amd64.tar.gz
          go version

      - name: Setup Project
        run: npm run project-setup

      - name: Install npm dependencies
        run: npm install

      - name: Build Website
        run: npm run build

      - name: Upload artifact
        uses: actions/upload-pages-artifact@v1
        with:
          path: ./public

      - name: Echo CNAME
        run: echo ${{ secrets.CNAME }} > ./public/CNAME

      - name: Deploy Web
        uses: peaceiris/actions-gh-pages@v3
        with:
            PERSONAL_TOKEN: ${{ secrets.PERSONAL_TOKEN }}
            EXTERNAL_REPOSITORY: HaleyCH/HaleyCH.github.io
            PUBLISH_BRANCH: master
            PUBLISH_DIR: ./public
            commit_message: ${{ github.event.head_commit.message }}
      - name: Extract Latest URLs
        run: |
          latest_urls=$(grep -o '<loc>[^<]*</loc>' ./public/sitemap.xml | sed 's/<loc>\(.*\)<\/loc>/\1/' | head -n 100)
          echo "$latest_urls" > latest_urls.txt
- name: Push Latest URLs to Baidu
run: |
while IFS= read -r url; do
curl -H "Content-Type:text/plain" --data-binary "$url" "http://data.zz.baidu.com/urls?site=hluvmiku.tech&token=x1rQVPzQUzr3sm35"
done < latest_urls.txt
      - name: install python
        uses: actions/setup-python@v2
        with:
          python-version: '3.x'

      - name: Install dependencies
        run: |
          python -m pip install --upgrade pip
          pip install oauth2client
          pip install httplib2

      - name: Push Latest URLs to Google
        run: |
          pwd
          ls -l
          python ./push_urls_to_google.py latest_urls.txt
|
6 结语
使用GitHub Actions可以将许多琐碎的、重复的工作自动化,让我们可以专注于更有意义的事情。
本文我提出了一套自动化推送方案,但是它仍然存在推送不够智能的问题。
大家有兴趣可以自行研究。

